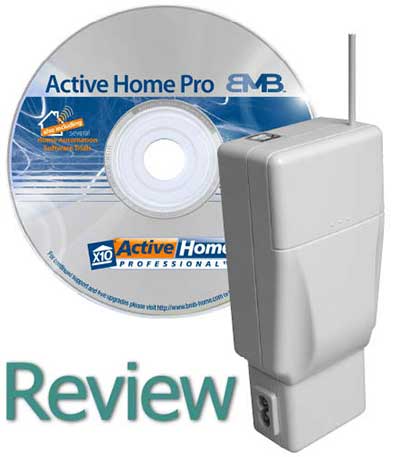
Submission by Stephen Shephard – Owning your own home automation installation company is a bit like being a kid in a sweetie shop. You get to play with all sorts of cool gadgets and gizmos.
Well the CM15 is finally here in Europe. Like many things Home Automation related it takes time to filter through from the States. So does it live up to the hype and our expectations, or is it a lame duck and nothing more than a CM11/12 with a few go faster stripes on it.
So what do you get for your money, (we will be selling them shortly for 98 Euros including shipping). The box contains the CM15, ActiveHome Pro software, A plastic straw, a long USB cable (about 1.5m) and an equally long mains cable. So the unit can be hidden without too much bother. It also comes with 2 Velcro pads.
To get started you fit the straw over the dangly wire, which comes out of the top of the unit, to make the antenna rigid. Already someone has posted a tutorial on how to change the antenna for an F connector, and to use your own aerial, to improve range.
Next is to install the software. This happens quite quickly and is very easy. No need to restart the machine. On first glance it has a similar look and feel to the older ActiveHome software. Not necessarily a bad thing.
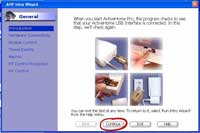
Once the initial splash screen has finished you get the help wizard pop up. For first time users this may be useful as it runs through how to set up modules and check the USB connection to the CM15 is connected. Mind you when you start the software you get a warning letting you know if the USB cable is unplugged.
|
Setup Wizard
Click pic for larger version
|
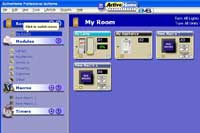
General Layout
Click pic for larger version
|
The screen is split into 3 main areas. Rooms, Modules, Timers and Macros on the left with a small dustbin just below this. On the right is the main display screen this area changes depending on what is displayed. So click on a room and this is displayed in the main area, then click on modules and this gets displayed below the room.
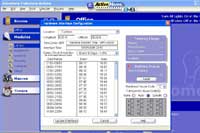
The first thing you’ll probably want to do is select Hardware Configuration from the Tools menu. Here you get to choose your location, the code you want the unit to monitor and which codes the unit will respond to via RF. Annoyingly you can only monitor one house code. This is for status tracking and use as a condition for macros. It would be nice to be able to select more than one house code like you can for the RF.
|
Hardware Preferences
Click pic for larger version
|
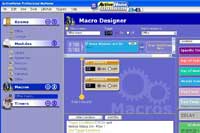
Smart Macros
Click pic for larger version
|
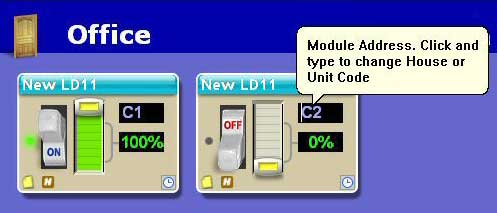
Adding modules is very easy, just click on module type in the left hand side and then drag the module you want into the room. Also the modules are the proper European versions which is a great improvement over the old ActiveHome software. Once the module is added you can change the address just by clicking in the address window and changing it to what ever you want. If you want to change the module to another type then a right click and select edit will allow you to do this.
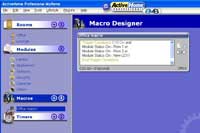
The Macros area is possibly the single biggest improvement over the old software. Not only do you get more memory, but you get conditional macros that can be downloaded to the unit. When you add a new macro you get the choice of using the condition wizard, simple interface (only possible to add one condition), or advanced interface (possible to add many conditions).
Like adding modules the interface is drag and drop. Select the condition and drag it into the condition window. If you want to use module status for a condition then only the modules with the monitored house code can be used. But there is a way round this. So say your monitored house code is C but you want to have a condition that looks at the status of module A1. You set up a macro to set a flag every time you switch A1 on and clear the flag every time you switch A1 off. Now you set up another macro which when triggered will look to see if A1 is on or off and if it’s on it switches C1 on.
|
Macros Designer
Click pic for larger version
|
Report Screen in Browser
Click pic for larger version
|
Other conditions can be based on time, date or specific holidays. The holidays are user defined, from the preferences menu, which is a nice touch. Another possibility with the macros is the ability to run other external programs. So you could set up a macro to run Winamp and play a voice announcement based on an event for example.
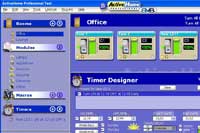
There’s no real difference from the way the old software handles Timers here. Once again you get the option to hide the advanced features such as security settings. A timer can be set for almost any module. On the bottom right of the module is a small clock icon just click this and the timer window appears in the bottom of the main window. Then click on new and set your timer value. Going straight to the advanced view is also probably a good idea. As you can see all your options and there is also a repeat function, which is useful if you need to send a mission critical on or off, such as heating.
|
Timer Designer
Click pic for larger version
|
Activity Monitor
Click pic for larger version
|
Lastly on the top of the screen there is a plug-ins menu. All that is in there currently is the Smart Macros. But I guess there will be more as time goes on and no doubt there will be third party plug-ins too.
The Bad – Let’s start with what I don’t like. You can only send RF commands via a macro. It would be much nicer to be able to send them as normal commands. Better security functions, being able to read the actual sensors would be nice, also I think being able to monitor more than one house code should be standard.
The Good – Things I like: Being able to use conditional macros, Setting of flags, Sending RF commands (all be it via a macro) the larger memory and being able to download it all into the controller and running it in stand alone mode.
The Verdict – So would I use it? Depending on the application yes. Last year we did an install for a client, we needed an Ocelot controller, an XM10 and a TM13. Which we then housed in one box. The CM15 unit would have been ideal in this situation and much cheaper for the client. The initial cost was about 300 Euros and a CM15 costs about 98. I think as a starter for Home automation its very good value for money. Also if you have problem areas or out buildings then the RF functions make it very appealing. As you can send an RF command to your problem area or out building. So marks out of 10 about a 7.5 – with a “Good, but could do better”.

100% of all the functionnalities of this device ll only be accessible using active Home Pro. If you want to use another Home automation .Make care that software is compatible and in this case only don’t buy this product : mean buy the CM11 or go to alternative protocol like Zwave, insteon evne this devices in the best in 2008 ( spec and price). The available marmitek SDK don’t let third HA sofware to use all the functionnalities of the device. So best device but Not open. Also the manufacturer have no forum no support , we are on 2008 !! I buy it and use homeseer/girder/netremote. you ll find easely the post in the homeseer forum and good link on CM15 under linux that confirm my writing.
i am a french guy
unfortunately, mControl DOES NOT communicate wiht this device. VERY frustrating, lost money!
Is possible work CM15 on xbox with XBMC???